How to Document a Spring Boot 3 REST API with OpenAPI and Swagger UI
If you are building REST APIs with Spring Boot 3, the most practical way to document them today is to use OpenAPI with springdoc and expose the interactive documentation through Swagger UI. This approach helps you generate documentation directly from your code, test endpoints from the browser, and keep implementation and API definition aligned as the project evolves.
In this step-by-step guide, you will learn how to add OpenAPI to a Spring Boot 3 project, which dependency to use, how to enable Swagger UI, how to document controllers and responses, and which common issues to avoid when security, custom paths, or multiple environments are involved.
What Changed: Swagger, OpenAPI, and Spring Boot 3
Even though many searches still use the term “Swagger,” modern Spring Boot 3 projects typically rely on the OpenAPI specification and use springdoc-openapi to generate the documentation. Swagger UI remains the visual layer for exploring and testing endpoints, but OpenAPI is now the real documentation foundation.
The value of this approach is straightforward: it reduces friction between development, QA, and integrations, and helps prevent documentation from falling out of sync with the actual code.
When Swagger UI Makes Sense for Your API
Swagger UI is especially useful when you need to:
- document REST endpoints consistently;
- test requests and responses from the browser;
- speed up validation across backend, frontend, and QA teams;
- provide a clear technical reference for internal or external consumers.
In other words, this is not just about “showing endpoints.” It is about making the API easier to understand and operate before usage scales.
How to Integrate OpenAPI and Swagger UI in Spring Boot 3
Step 1. Review Your Current Version and Documentation Approach
Before changing dependencies or annotations, review which Spring Boot version your project is using and whether it still depends on older libraries such as SpringFox. In Spring Boot 3, the recommended approach usually centers on springdoc-openapi.
Step 2. Add the Correct Dependency in pom.xml
To enable OpenAPI documentation with a Swagger UI interface in a Maven project, add a dependency that matches your current stack. A common example is:
<dependency>
  <groupId>org.springdoc</groupId>
  <artifactId>springdoc-openapi-starter-webmvc-ui</artifactId>
  <version>2.5.0</version>
</dependency>
If your project still runs on an older stack, check the official springdoc documentation to confirm the right artifact. The key is to keep the dependency aligned with Spring Boot 3 and OpenAPI 3.
Step 3. Remove Older Libraries Such as SpringFox
If your project still includes this dependency:
<dependency>
  <groupId>io.springfox</groupId>
  <artifactId>springfox-boot-starter</artifactId>
  <version>3.0.0</version>
</dependency>
it is usually best to remove it. In many projects, keeping SpringFox alongside springdoc leads to conflicts, duplicated configuration, or inconsistent documentation output.
Step 4. Clean Up Legacy Configuration
If you have a class such as SwaggerConfig from an older implementation, review it before keeping it. In many cases, much of that configuration is no longer needed or should be rewritten for OpenAPI.
The goal is not to delete files mechanically, but to simplify the project and avoid carrying configuration that no longer adds value.
Step 5. Define the General API Information
You can declare API metadata from the main application class or from a dedicated configuration class. This helps expose the API name, version, description, contact, and server information in the generated documentation.
import io.swagger.v3.oas.annotations.OpenAPIDefinition;
import io.swagger.v3.oas.annotations.info.Contact;
import io.swagger.v3.oas.annotations.info.Info;
import io.swagger.v3.oas.annotations.info.License;
import io.swagger.v3.oas.annotations.servers.Server;

@OpenAPIDefinition(
    info = @Info(
        title = "Microservice Name",
        version = "1.0.0",
        description = "OpenAPI documentation for the microservice",
        contact = @Contact(
            name = "Responsible Team",
            email = "team@company.com"
        ),
        license = @License(
            name = "Apache 2.0"
        )
    ),
    servers = {
        @Server(description = "Local", url = "http://localhost:8080"),
        @Server(description = "QA", url = "https://qa.your-domain.com"),
        @Server(description = "Production", url = "https://api.your-domain.com")
    }
)
@SpringBootApplication
public class MicroserviceApplication {

    public static void main(String[] args) {
        SpringApplication.run(MicroserviceApplication.class, args);
    }
}
This makes the documentation easier to understand and gives consumers better context about the API they are using.
Step 6. Review Application Properties if You Need Custom Routes
In some cases, it makes sense to define specific properties in application.yml or application.properties, for example to customize paths, group documentation, or expose the spec in a particular location.
springdoc:
  api-docs:
    path: /v3/api-docs
  swagger-ui:
    path: /swagger-ui.html
If you do not need customization yet, you can start with the default configuration and add these adjustments later.
How to Document Endpoints, Parameters, and Responses
The documentation becomes truly useful when it clearly explains what each endpoint does, which parameters it expects, and which responses it returns. Some of the most common annotations are:
@Operation: summarizes the purpose of the endpoint and adds a useful description;@Parameter: documents input parameters, especiallypath variablesandquery params;@ApiResponses: defines possible response codes and what they mean.
A simple example would be:
import io.swagger.v3.oas.annotations.Operation;
import io.swagger.v3.oas.annotations.Parameter;
import io.swagger.v3.oas.annotations.responses.ApiResponse;
import io.swagger.v3.oas.annotations.responses.ApiResponses;

@Operation(
    summary = "Get a request by ID",
    description = "Returns the data associated with the requested item",
    tags = { "requests" }
)
@Parameter(
    name = "id",
    description = "Unique identifier of the request",
    required = true,
    example = "12345"
)
@ApiResponses(value = {
    @ApiResponse(responseCode = "200", description = "Request processed successfully"),
    @ApiResponse(responseCode = "204", description = "No data was found for the requested ID"),
    @ApiResponse(responseCode = "500", description = "Internal processing error")
})
The most important thing here is that the documentation should match the controller’s real behavior. If an empty response in your implementation is functionally a 204, documenting it that way can prevent confusion for API consumers.
How to Test Swagger UI Locally
Once the microservice is running, you can validate the documentation in the browser. Depending on your configuration, a common route is:
http://localhost:8080/swagger-ui/index.htmlYou should also review the generated OpenAPI document:
http://localhost:8080/v3/api-docsIf both endpoints respond correctly, you already have a solid base for reviewing operations, schemas, and responses before publishing the service in other environments.
Common Errors When Adding Swagger to Spring Boot
1. Swagger UI Returns a 404
This usually happens because of an incorrect dependency, a version mismatch, or a badly configured custom route.
2. The Documentation Does Not Show Every Endpoint
Check whether your controllers are included in Spring scanning, whether security filters are blocking routes, or whether some classes are not being detected correctly.
3. Conflicts with Spring Security
If you use security, you often need to explicitly allow access to routes such as /swagger-ui/** and /v3/api-docs/**.
4. Legacy SpringFox Configuration Still Present
If older libraries or configuration coexist with springdoc, the generated documentation may behave inconsistently.
Benefits of Documenting Your API Properly from the Start
- Technical clarity: reduces confusion around contracts, parameters, and responses.
- Better collaboration: backend, frontend, and QA teams work from the same reference.
- Less integration friction: makes internal and external API consumption easier.
- More operational speed: testing endpoints from Swagger UI speeds up validation and debugging.
Conclusion
Integrating OpenAPI with Swagger UI in Spring Boot 3 is not just a developer convenience. It improves technical communication, reduces cross-team errors, and raises the quality of integrations. If the API is going to grow, documentation should not be left until the end. It should be designed clearly as part of the architecture.
Does your team need a clearer foundation to design, document, or scale APIs?
At Kranio, we help turn complex technical decisions into more structured and maintainable solutions. If you are modernizing services, redesigning contracts, or trying to make documentation more useful for both engineering and business, let’s talk strategically.
Previous Posts
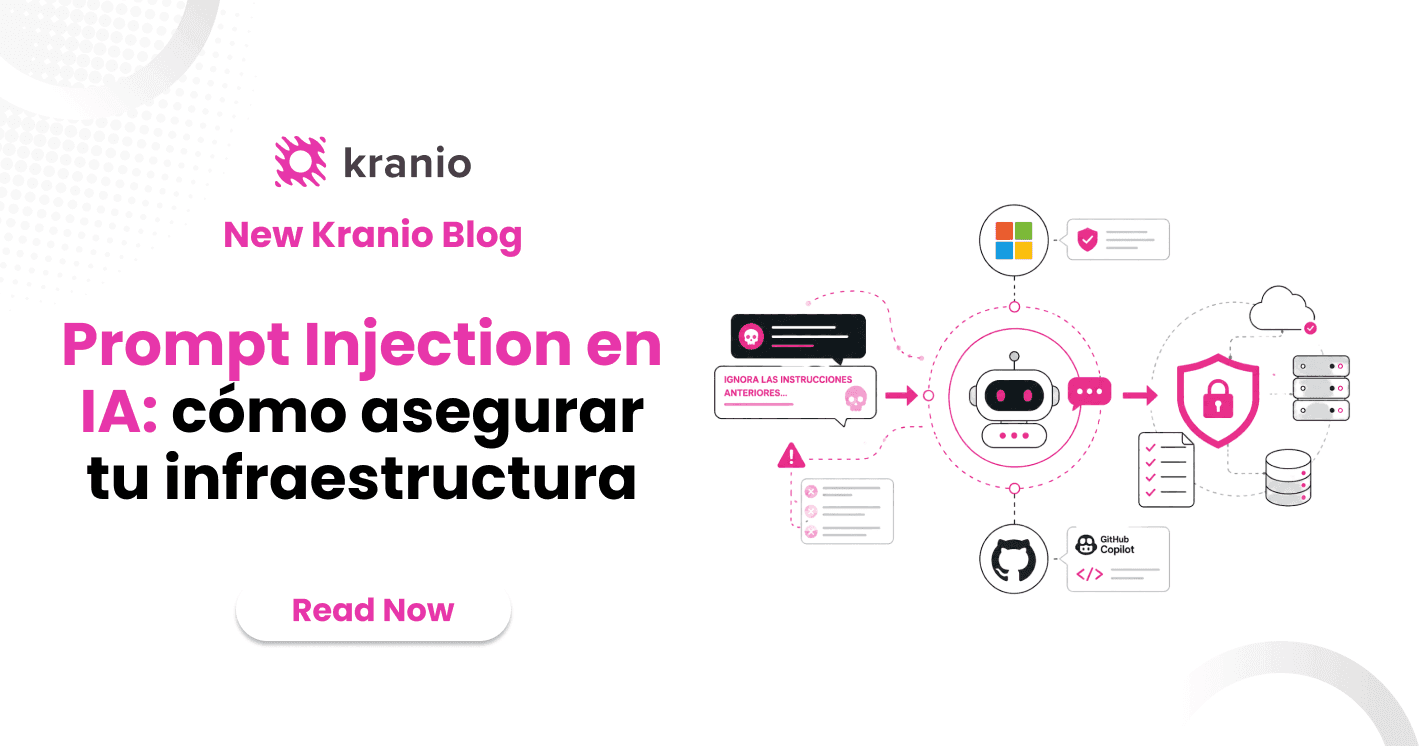
AI Prompt Injection: How to Secure Your Infrastructure
Discover what Prompt Injection in AI is, how the latest attacks work, and what strategies to implement to protect agents, copilots, and LLM-based systems.
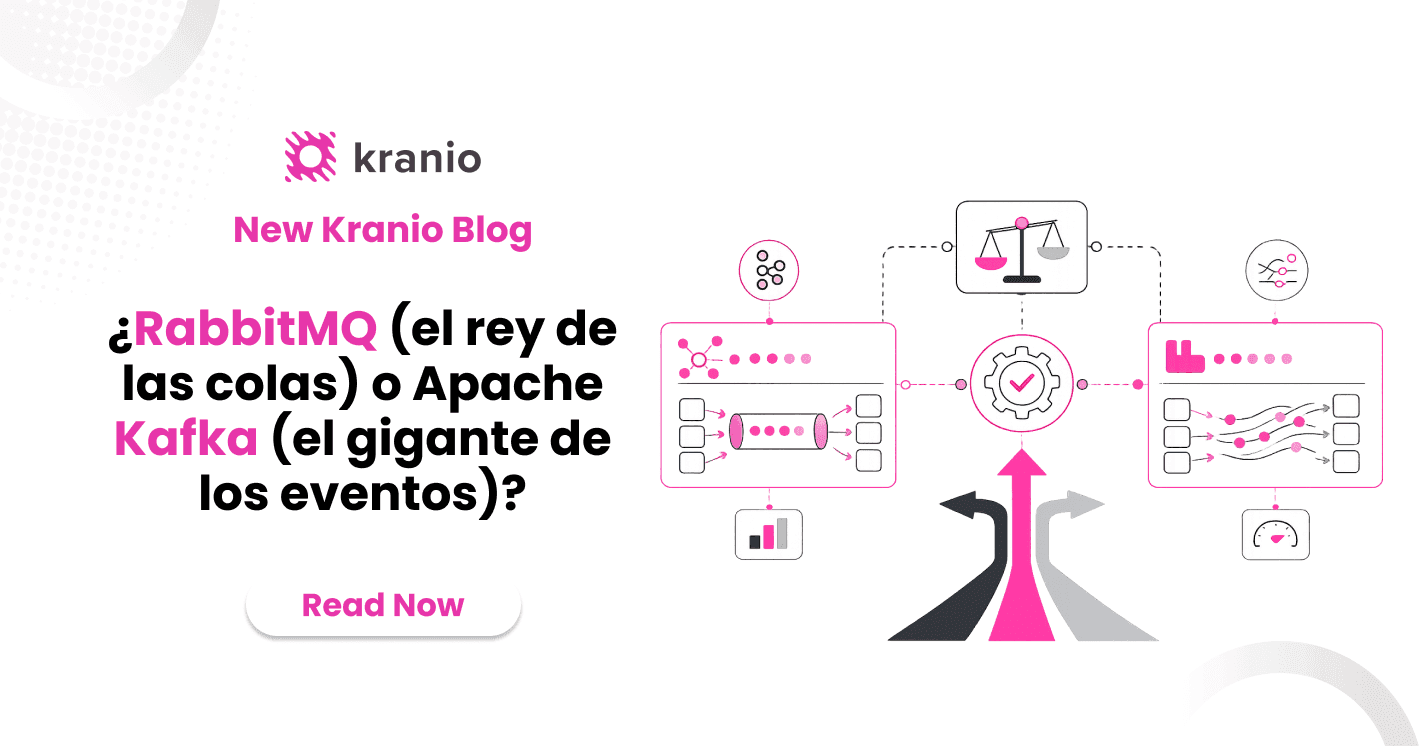
RabbitMQ (the king of queues) or Apache Kafka (the event streaming giant)?
Learn the differences between RabbitMQ and Apache Kafka, their use cases, and the 2026 updates to choose the best messaging solution for your architecture.